

Illawarra HawksHawksHWK
4-9
78
4-9
FIM
| 1 | 2 | 3 | 4 | T | |
|---|---|---|---|---|---|
Hawks HWK | 21 | 16 | 23 | 18 | 78 |
36ers ADL | 22 | 27 | 36 | 21 | 106 |

Adelaide 36ers36ersADL
6-6
106
6-6
Illawarra Hawks em Adelaide 36ers
Gráfico de arremessos
Arremessos Convertidos
Arremessos Errados

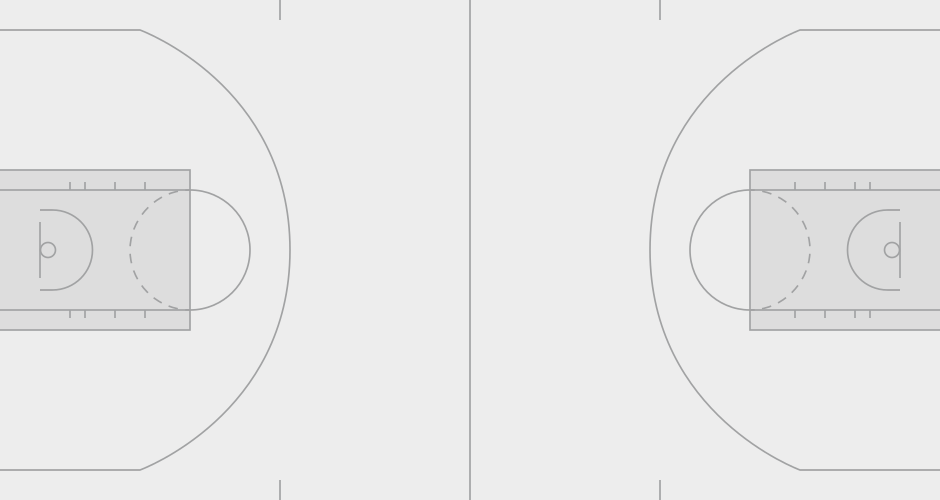
- Makur Maker misses shot
- Milton Doyle makes 26-foot three point step back jumpshot
- Bryce Cotton misses 26-foot three point pullup jump shot
- Matt Kenyon misses 25-foot three point jumper
- Tyler Harvey makes 2-foot shot
- Zylan Cheatham makes 26-foot three point jumper (Keanu Rasmussen assists)
- Matt Kenyon makes 23-foot three point jumper (Zylan Cheatham assists)
- Bryce Cotton misses 8-foot floating jump shot
- Wani Swaka Lo Buluk makes 8-foot floating jump shot
- Bryce Cotton misses 26-foot three point pullup jump shot
Arremessos Convertidos
Arremessos Errados
JOGADAS


Wani Swaka Lo BulukW. Swaka Lo BulukPF
Nick RakocevicN. RakocevicPF
Nick RakocevicN. RakocevicREB
Sam FrolingS. FrolingREB
Milton DoyleM. DoyleTO
Matt KenyonM. KenyonSTL
Tyler HarveyT. HarveyREB
Tyler HarveyT. HarveyREB
Matt KenyonM. KenyonPF